Create your account and launch your first instance
Every screen you will see, in the order you will see it. Nothing is created and nothing is charged until the last step, so you can walk through this and stop at any point.
1. Create your account
Go to app.splicerun.com/signup.
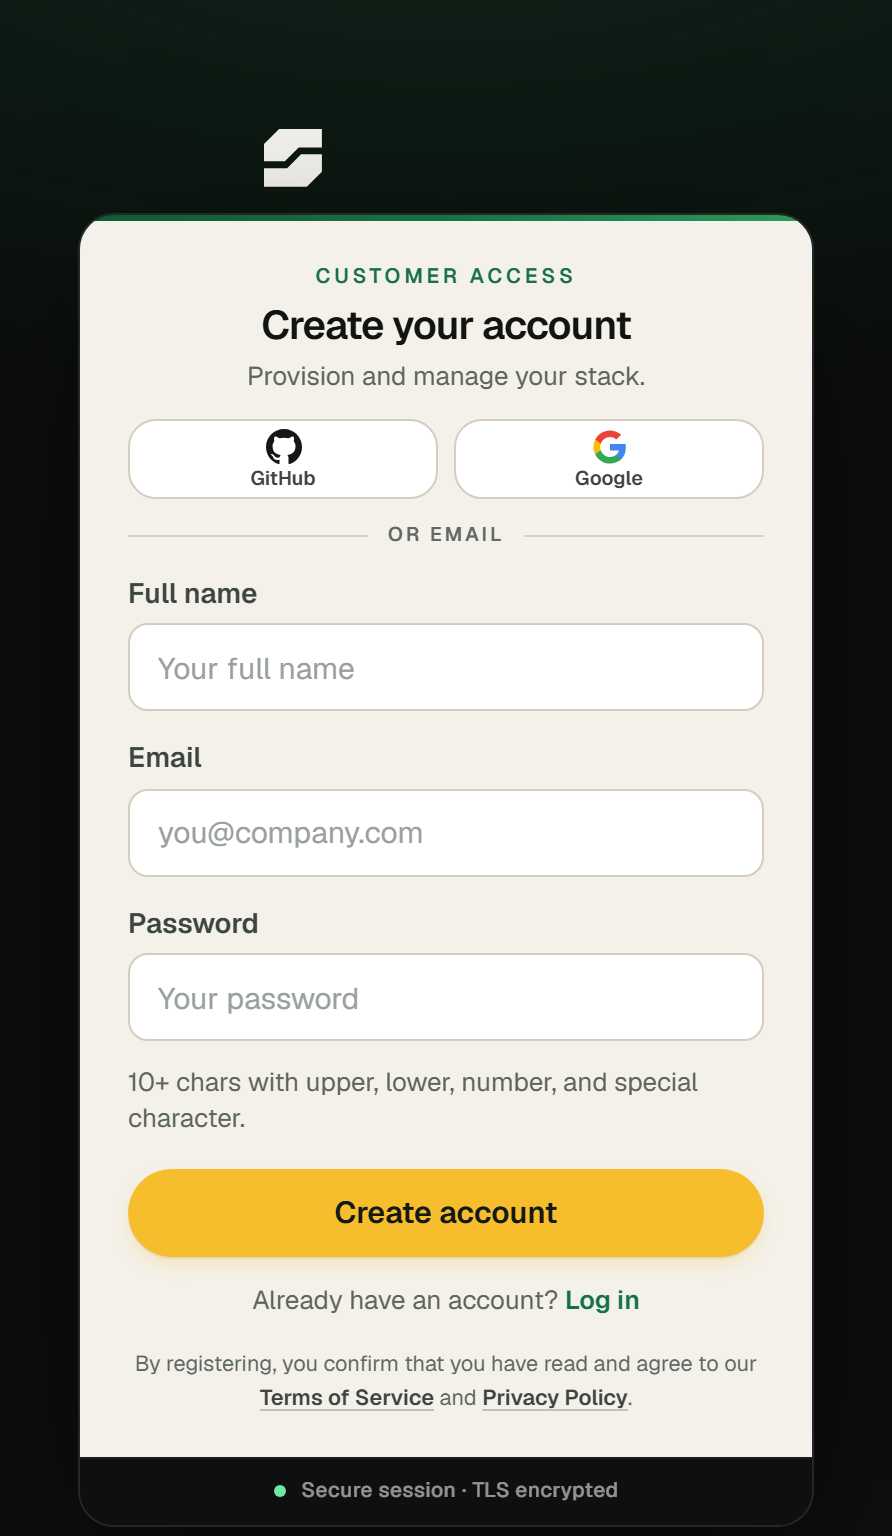
You can sign up with GitHub or Google in one click, or with an email address and password.
If you use email, the password must be at least 10 characters and contain an uppercase letter, a lowercase letter, a number and a special character. The form tells you which rule you have missed rather than just refusing.
This account is for the SpliceRun dashboard - billing, instances, backups. The login for n8n itself is separate, and you create it yourself the first time you open your instance. We never email you an app password.
Already signed up? Log in instead - the login page looks the same, minus the name field.
2. Your dashboard, before you have anything
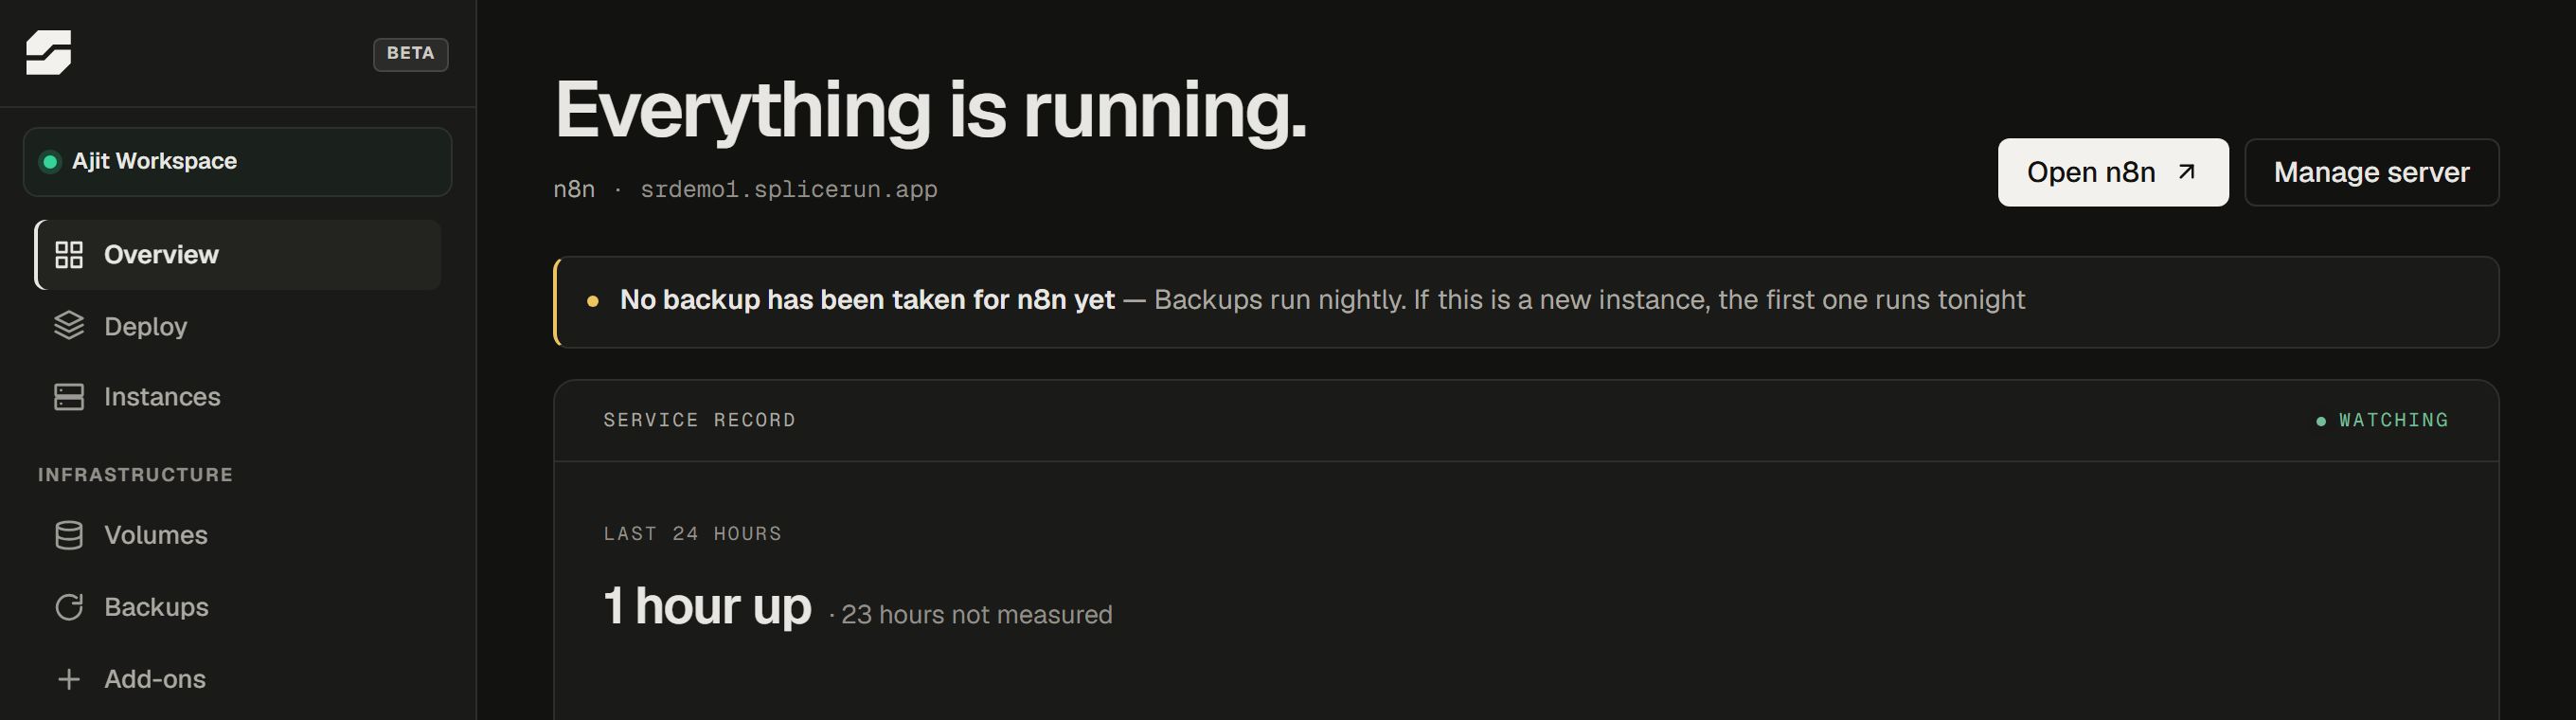
Straight after signing up, the dashboard is deliberately almost empty. There is one thing to do and it is the only thing on screen.
3. Choose your app
Open Deploy in the left sidebar.
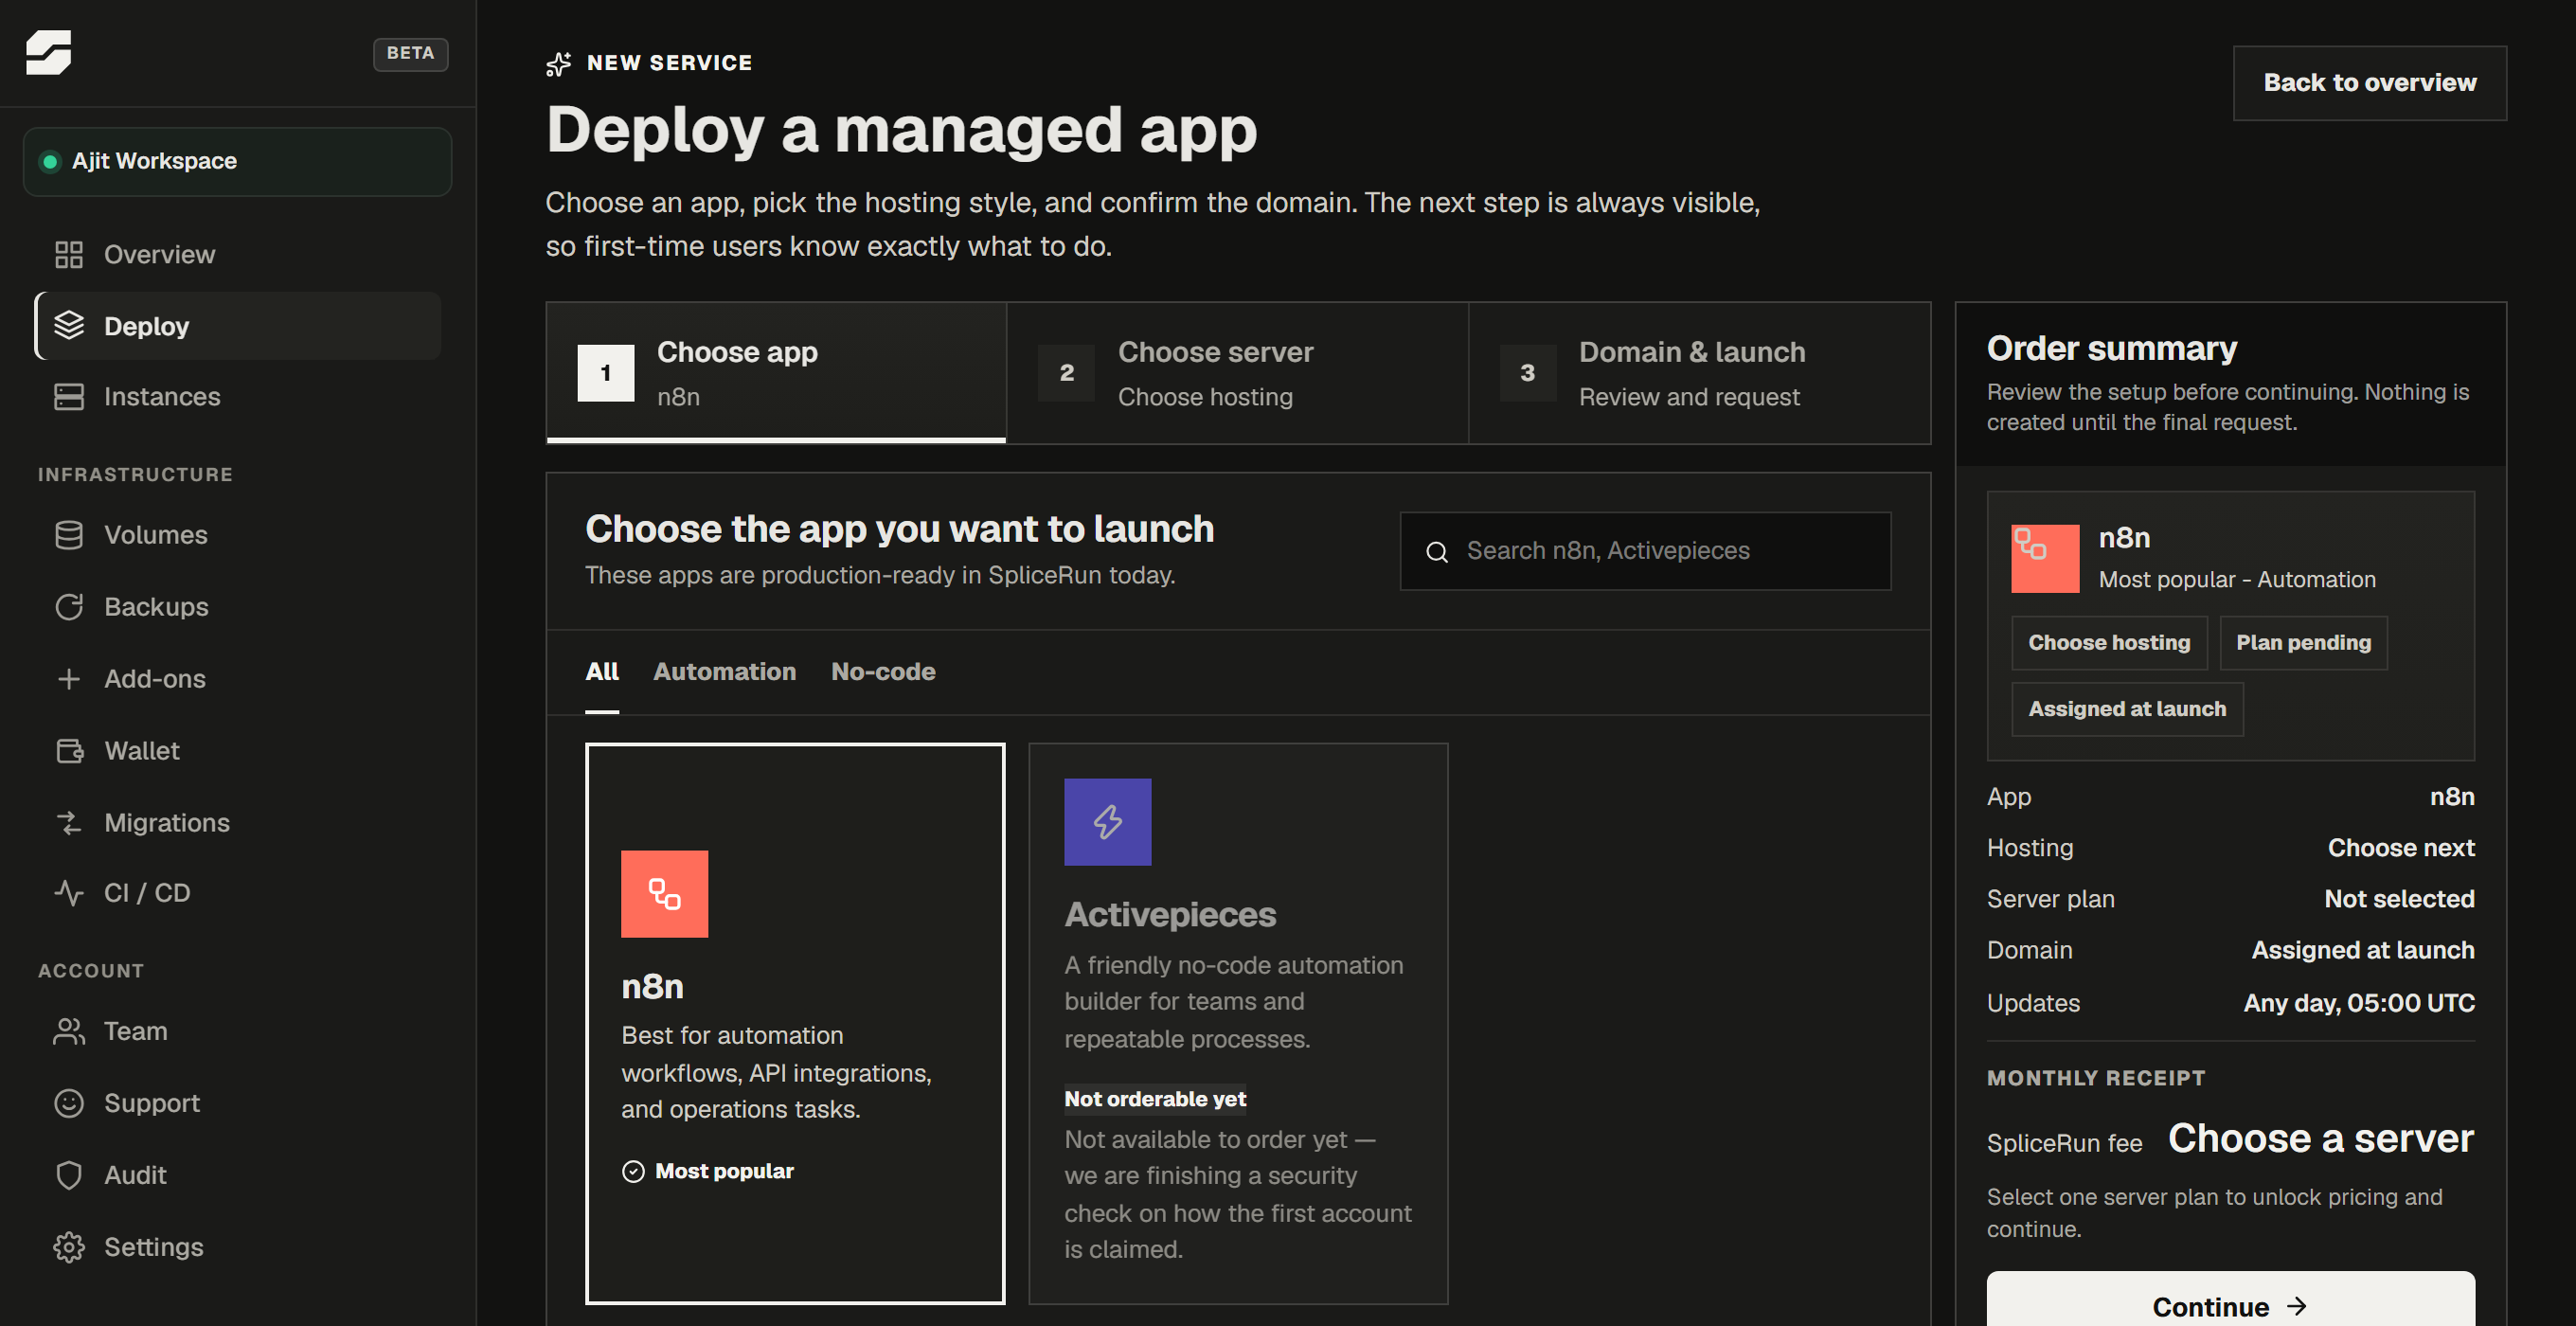
The three steps across the top - Choose app, Choose server, Domain & launch - stay visible the whole way through, so you always know how much is left.
Pick n8n. Activepieces appears in the list but is marked not orderable yet; it cannot be selected until we finish a security check on how its first account is claimed.
Then press Continue.
4. Choose how it is hosted
Three hosting styles, and they are not tiers of the same thing:
| What it means | |
|---|---|
| Shared managed | We run your app on our multi-tenant host. Lowest cost, nothing for you to administer. Recommended if this is your first instance. |
| Dedicated VPS | We rent and run a whole server used by your instance alone. |
| Bring your server | You own the server; we install and operate the software on it over SSH. |
Choosing a plan goes through the trade-offs properly if you are not sure.
Pick a style, then pick a size underneath it. This is the step people get stuck on: Continue stays greyed out until you have chosen both.
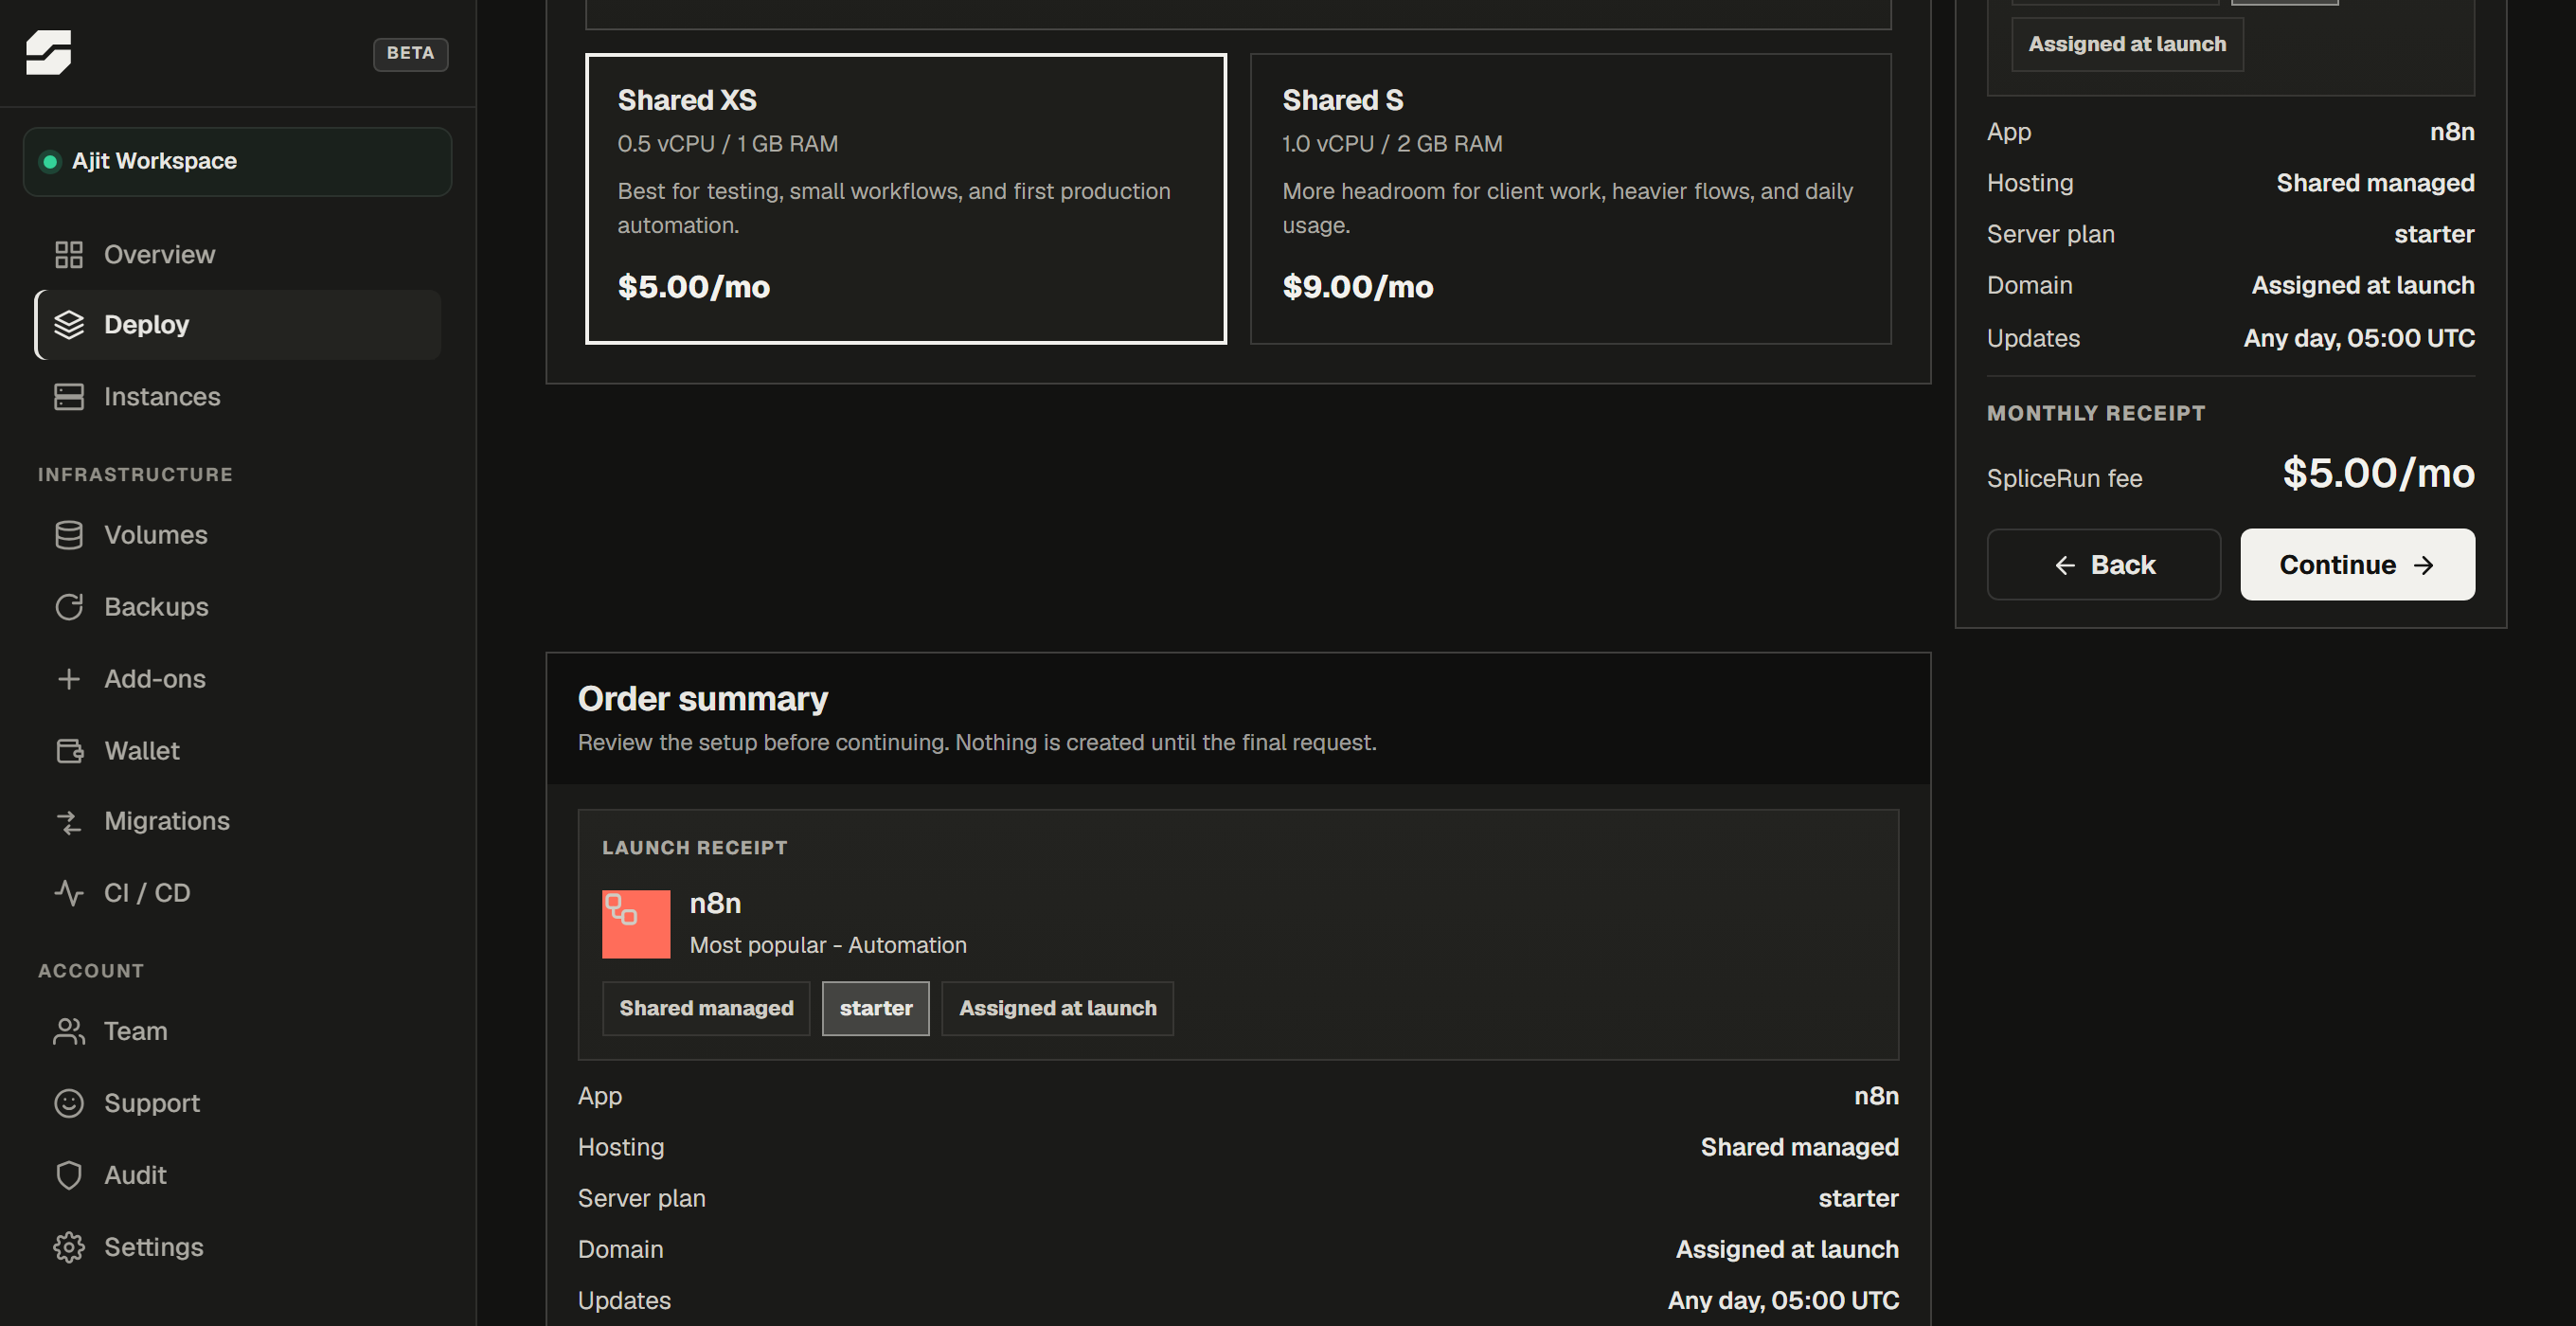
Figures change over time, and your billing country decides the currency - India is billed in rupees, everywhere else in US dollars. The pricing page is the only place with current prices - never a screenshot.
5. Review, then request the launch
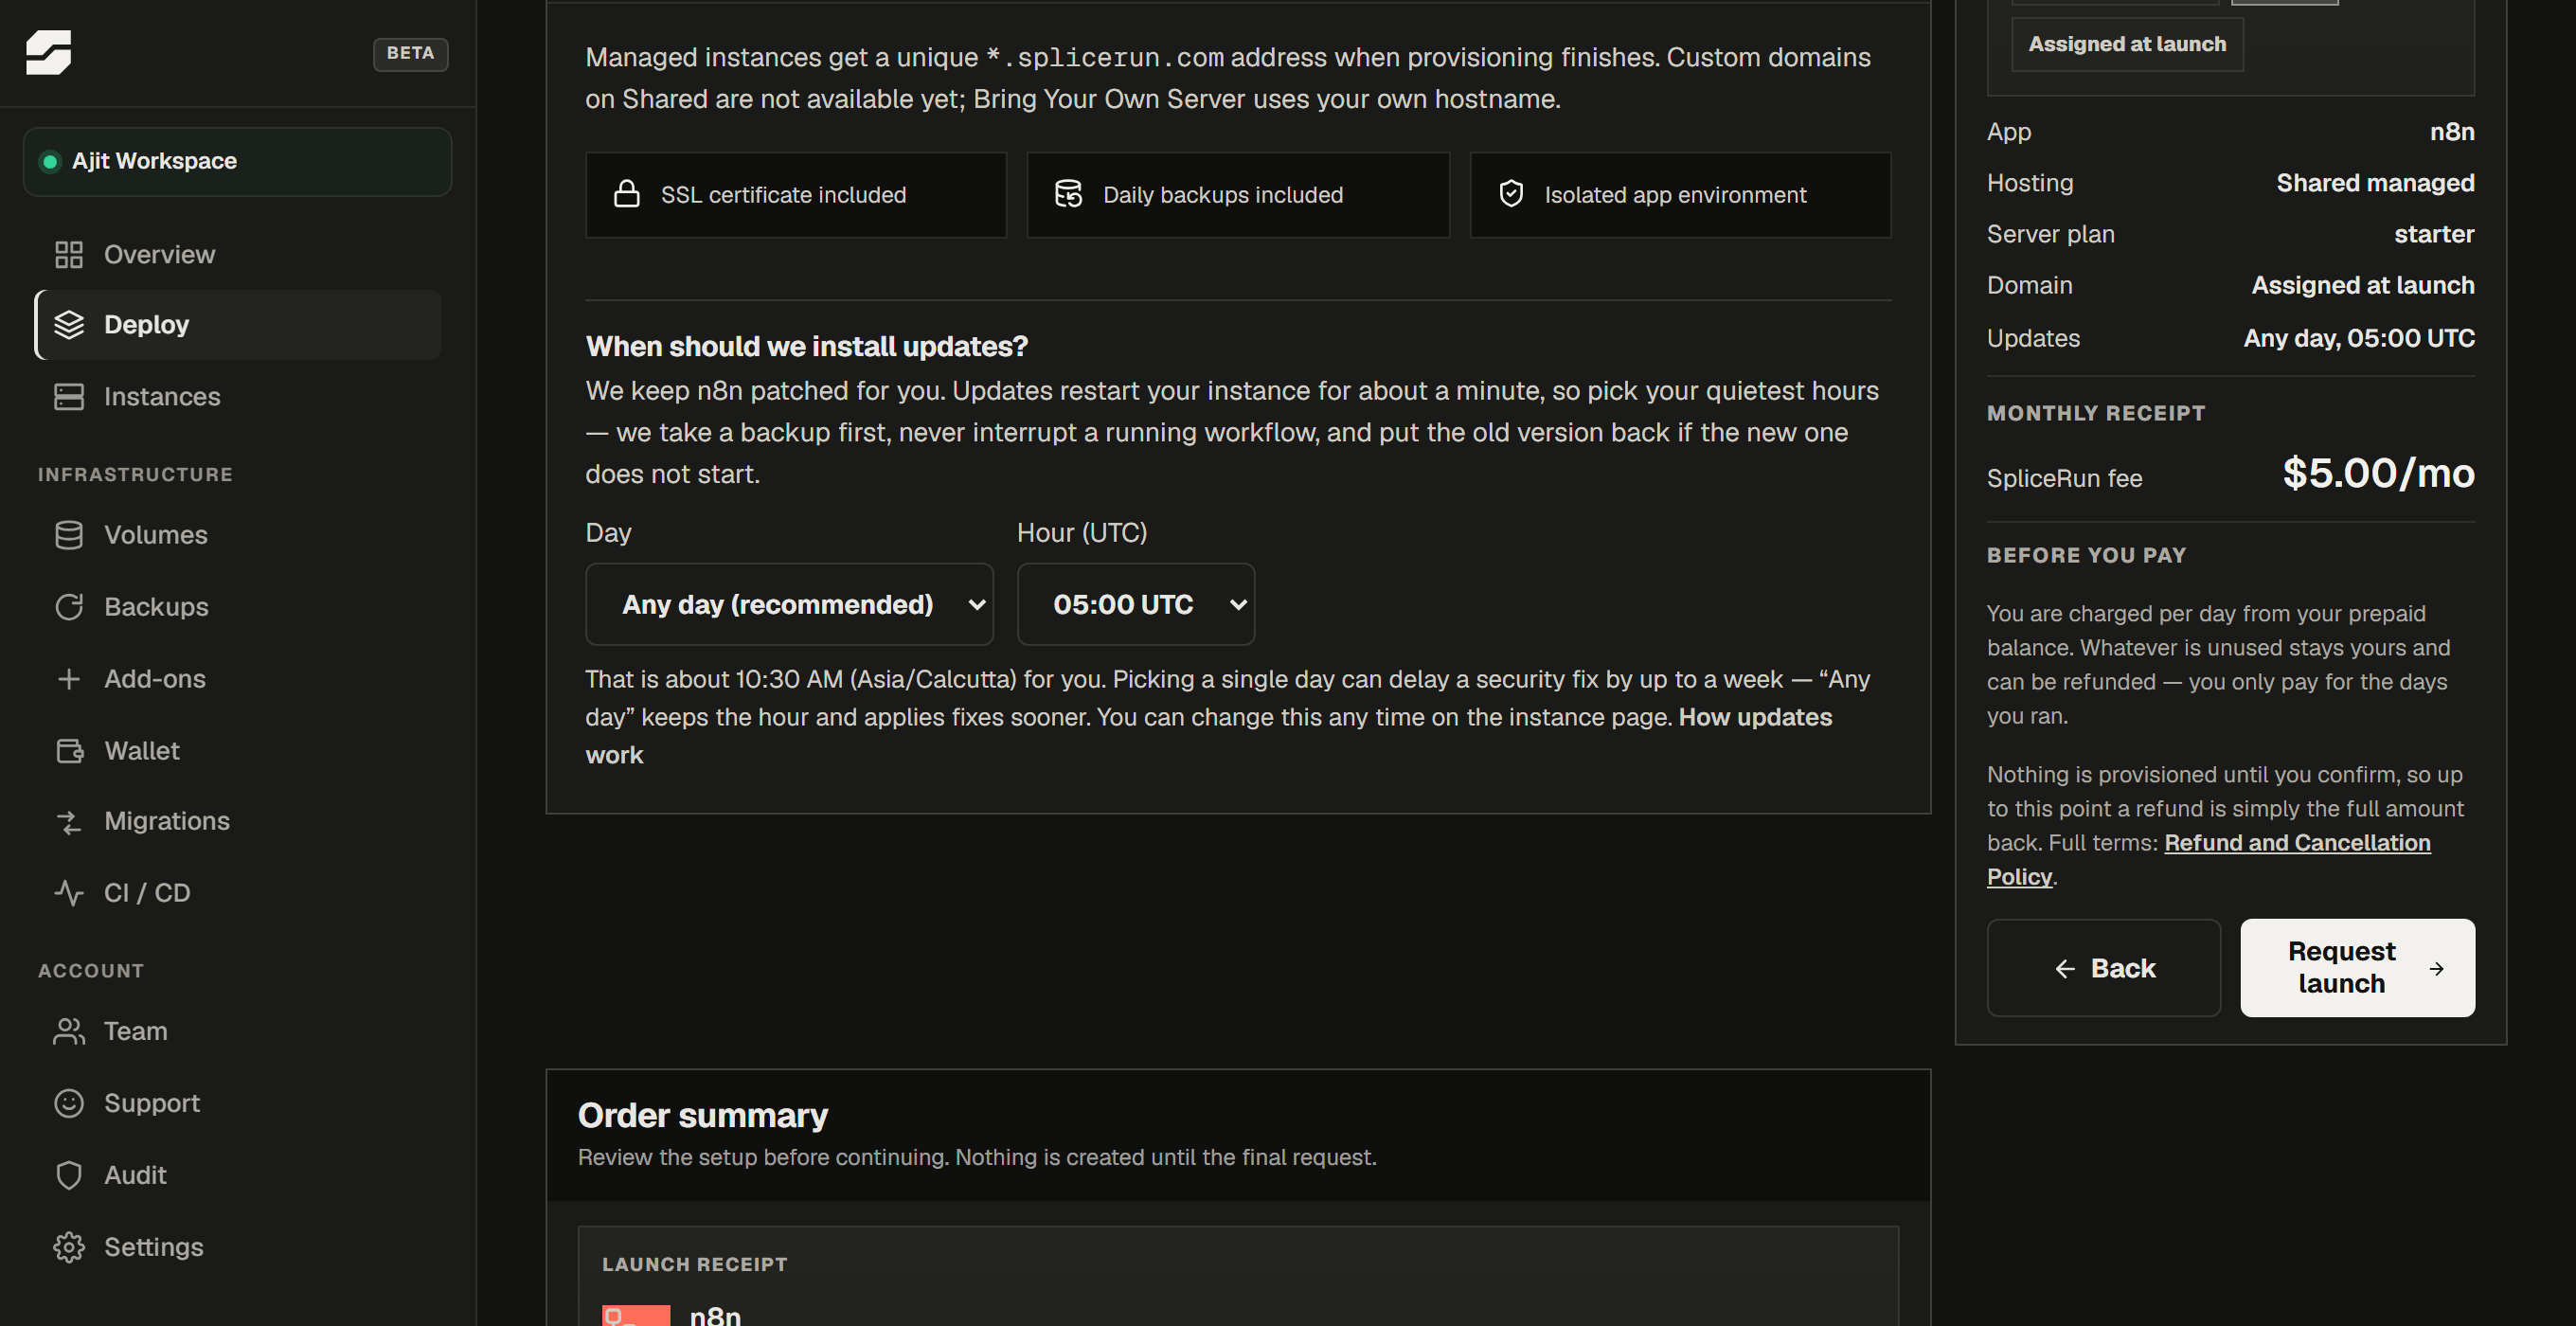
The last screen restates everything you chose and tells you what your instance comes with - an SSL certificate, daily backups, and an isolated app environment.
It also asks when we may install updates. The default - any day, 05:00 UTC - suits most people, and you can change it later at any time. Updates restart your instance for about a minute, so if you have quiet hours, say so here. See Updates and maintenance windows.
Your address is assigned when provisioning finishes, as a *.splicerun.com
hostname. Custom domains are not available on Shared yet; Bring Your Own
Server uses your own hostname. See
Custom domains and HTTPS.
Nothing exists until you press Request launch. That is the point of no return, and it is clearly the last thing on the page.
6. Watch it come up
Your instance appears under Instances, and that page is where you follow progress.
We do not publish a fixed number of minutes for provisioning. The instance page tells you what stage it is at; wait for it to say it is ready rather than watching a clock.
When it is ready, open the app and create the first owner user inside n8n. That is your n8n login, it is separate from the SpliceRun account you made in step 1, and only you ever know it.
What next
- Setup guide - the before-pay / after-pay detail for each of the three hosting styles
- Outbound connections and DNS - read this before your first HTTP Request node
- Backups and recovery - what is captured, and how to get it back
- Already running n8n somewhere else? Migrating to SpliceRun moves it for you